Types of Honda motorcycle decals
-
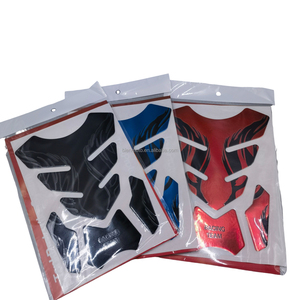
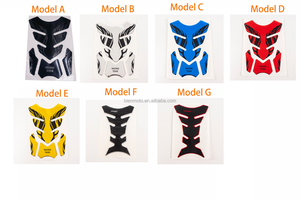
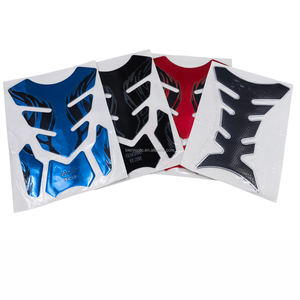
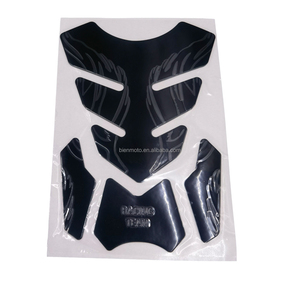
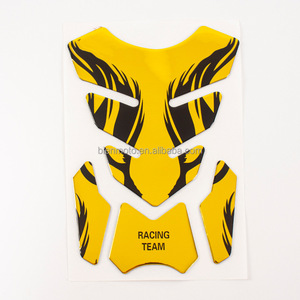
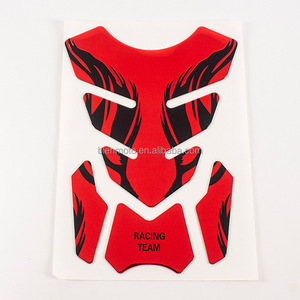
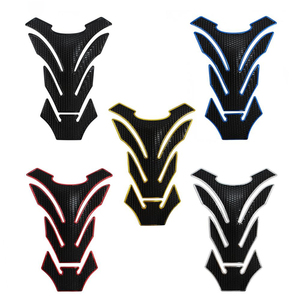
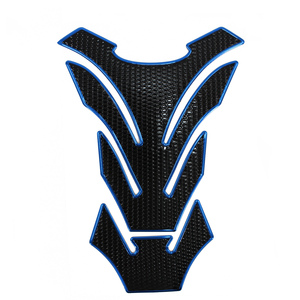
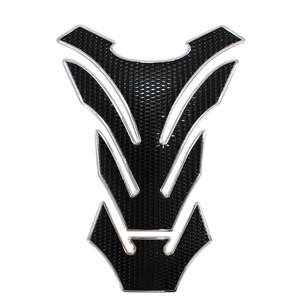
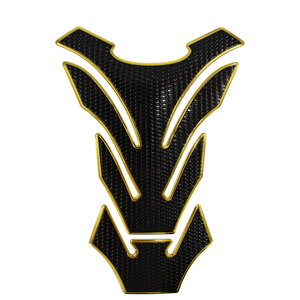
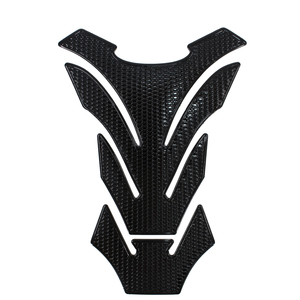
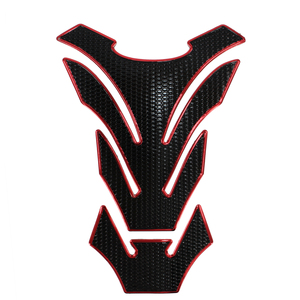
Tank pad decals
Tank pad decals are designed to cover the fuel tank of a motorcycle. They protect the tank from scratches that may be caused by zippers or fasteners. These Honda bike stickers also add grip to the tank, preventing the rider from sliding during acceleration.
-
Side panel decals
Side panel decals are placed on the side panels of a motorcycle. They enhance the appearance of the bike and can be used to hide scratches or damages on the panel. Side panel decals can be customized to fit different motorcycle models.
-
Fairing decals
Fairing decals are used to decorate the fairings of a motorcycle. They are an affordable way of personalizing bikes without the need of repainting. Fairing decals come in different designs and sizes to match various motorcycle models.
-
Rim tape
Rim tape is used to decorate the wheels of a motorcycle. The colored tape is applied on the outer edge of the rim. This adds style to the wheels, making the motorcycle stand out. The tape comes in different colors for users to choose according to their preferences.
-
Hood decals
Honda hood decals are designed to be applied on the hoods of motorcycles. They come in various sizes and designs to match different motorcycle models. Hood decals enhance the appearance of a bike, making it look stylish and attractive.
-
Windshield decals
These decals are placed on the windshield of a motorcycle. Some may be transparent with printed graphics so that they do not obstruct the rider's view. Windshield decals are used to personalize motorcycles and can be applied on the entire windshield or at the corner.
-
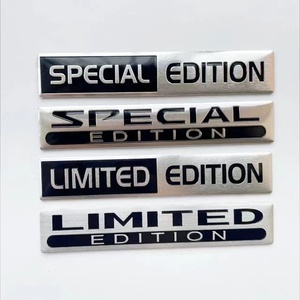
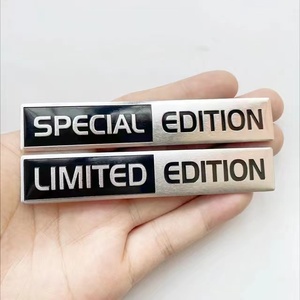
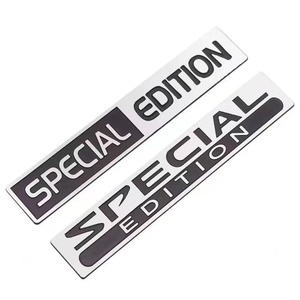
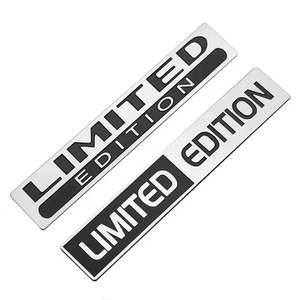
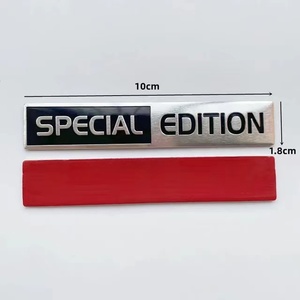
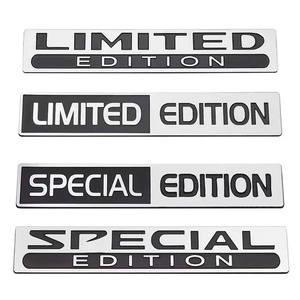
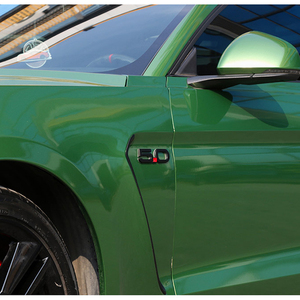
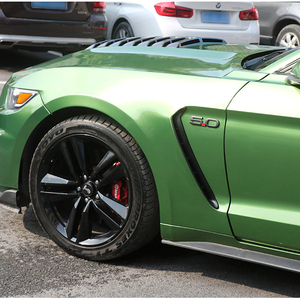
Emblems and logos
Emblems and logos are used to show the brand and model of the motorcycle. They are applied in specific areas like the fuel tank, side panels, and fairings. The logos and emblems are carefully designed to match the original specifications of the motorcycle.
Specification and maintenance of Honda motorcycle decals
Stickler Honda bike logos are known for their quality and durability. Here are some common specifications to expect:
-
Material
The material used in making Honda motorcycle decals determines their durability and quality. The most common material used in making these decals is vinyl. Stickers made of vinyl are long-lasting and resistant to harsh weather conditions. They don't fade or peel off easily when exposed to extreme sunlight. They are also waterproof, so they won't get damaged when they come into contact with water. Besides vinyl material, some Honda decals are made of reflective material. These decals are ideal for night riding since they reflect light from vehicles that are behind.
-
Size
Honda motorcycle decals come in different sizes. The size of the decal needed will depend on the area of the motorcycle that needs to be covered. For instance, if a bigger section of the bike needs to be covered, a bigger decal will be needed. Common sizes of Honda motorcycle decals include 2 inches, 3 inches, 4 inches, and 6 inches.
-
Design
There are a variety of designs and colors of Honda motorcycle decals. The design will depend on what the sticker is meant for. For instance, if the sticker is meant for racing, it will have a racing theme. The color of the decal will also vary depending on its design.
-
Adhesive
Honda motorcycle decals have strong adhesives at the back to allow them to stick to the surface of the motorcycle. The strength of the adhesive varies depending on the type of decal. For instance, if a decal is meant for rough weather conditions, it will have a stronger adhesive.
Maintaining Honda motorcycle decals
Once the decals have been installed on the motorcycle, it is important to maintain them so that they can last for a long period of time. Here are some maintenance tips:
- Regularly clean the decals to prevent dirt and dust from building up. When cleaning, use a soft cloth and mild soap. Avoid using harsh chemicals since they can damage the color of the decals.
- Avoid rubbing the decals with hard materials. This can result in scratches that can damage the sticker.
- When riding, avoid areas with high temperatures. This can cause the decals to peel off or become warped.
- If the motorcycle is exposed to extreme weather conditions, consider covering it with a protective gear.
How to Choose Honda Motorcycle Decals
When sourcing Honda motorcycle decals, consider the following factors:
-
Model of the motorcycle
Different models of motorcycles have their own unique decals. For instance, the Honda CRF450R decal will not be the same as the Honda CBR1000RR decal. Therefore, buyers should choose decals that match the model of the motorcycle.
-
The year and brand of the motorcycle
Buyers should choose decals that match the year and make of the motorcycle. For example, a decal designed for a 2015 Honda CBR600RR motorcycle may not fit properly on a 2020 Honda CBR600RR motorcycle.
-
Color scheme and design
Buyers should choose decals that match their preferred color scheme and design style. The Honda motorcycle decals are available in different colors and designs.
-
Quality
Buyers should choose Honda motorcycle decals that are of good quality and are worth their money. The decals should be durable and can withstand different weather conditions.
-
Ease of application
Buyers should choose decals that are easy to apply. This will help them avoid any difficulties or mistakes when applying the decals.
-
Peel off the backing
Once the decal is properly positioned, carefully peel off a corner of the backing paper to expose the adhesive side.
-
Press down
Once the decal is in the right position, press it down gently to stick it to the surface of the motorcycle.
-
Remove bubbles and wrinkles
If there are any bubbles or wrinkles on the surface of the decal, gently remove them by using a soft plastic spatula or a credit card.
How to DIY and Replace Honda Motorcycle Decals
Decal replacement is a straightforward process that can be done at home with a few necessary tools. Before starting the process, ensure that the new decals to be installed are clean, dry, and free of dust and debris. Here are the steps to DIY and replace Honda motorcycle decals:
-
Prepare the surface
Use a heat gun or hair dryer to warm the old decal. This will make the adhesive underneath soft and the removal process easier. After warming, use a plastic scraper or credit card to lift the edges of the old decal and carefully peel it off. Take care not to scratch the paint underneath. Once the old decal is removed, clean the surface with isopropyl alcohol to remove any residue. Ensure the surface is completely dry before installing the new decal.
-
Installing the new decal
Peel the backing off the new decal. Take care not to touch the adhesive side. Carefully position the decal on the motorcycle, ensuring proper alignment and placement. Once in position, press the decal gently to make it stick on the surface. Use a plastic squeegee or a credit card to smooth out any air bubbles or wrinkles, starting from the center and moving outward.
-
Finishing touches
Inspect the decal to ensure it is properly adhered and looks as desired. If necessary, use a utility knife to trim any excess material. Allow the adhesive to cure for the recommended time, typically 24 to 48 hours, before exposing the motorcycle to extreme weather conditions or high speeds.
Q and A
Q1: What are some common types of Honda motorcycle decals?
A1: There are many different types of Honda motorcycle decals, including logo decals, racing stripes, fairing kits, custom graphics, and reflective decals.
Q2: What is the purpose of Honda motorcycle decals?
A2: Honda motorcycle decals are used for decoration, branding, customization, and identification purposes. They can also provide some safety features, such as reflective decals that improve visibility.
Q3: How can I apply Honda motorcycle decals?
A3: Before applying the decals, make sure the surface is clean and dry. Peel off the backing and carefully place it on the desired surface. Smooth out air bubbles and wrinkles. Some decals may require heat or additional adhesive.
Q4: How should Honda motorcycle decals be maintained?
A4: To maintain Honda motorcycle decals, avoid abrasive cleaners, regularly clean them, and promptly repair any damages. Protecting them with UV protectors or clear coats can also enhance their durability.


 浙公网安备 33010002000092号
 浙B2-20120091-4