


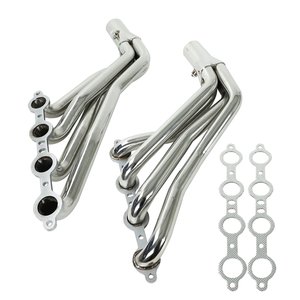


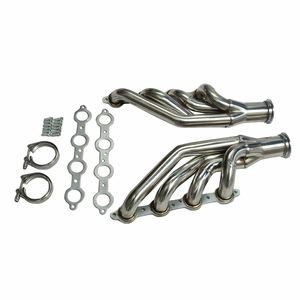


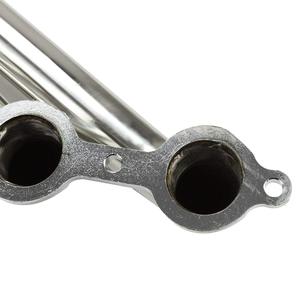
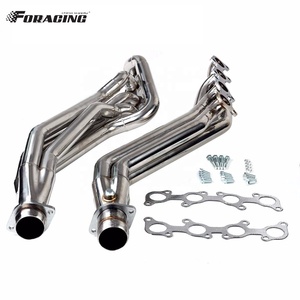
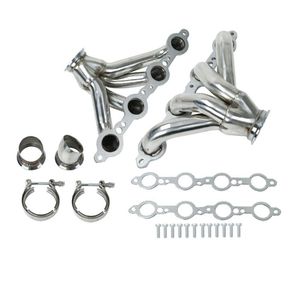


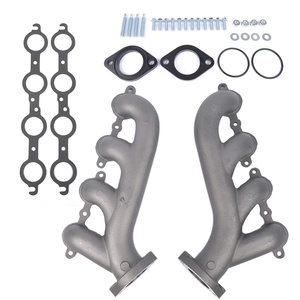


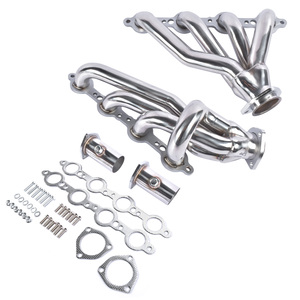
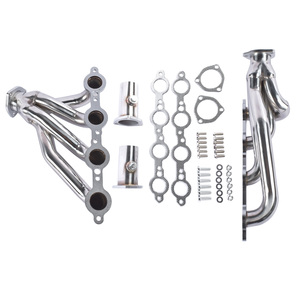


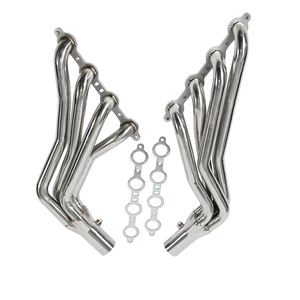


Types of LS1 Headers
LS1 headers are essential performance upgrades for GM's popular LS1 engine platform. Each header type offers distinct advantages depending on your performance goals, vehicle application, and budget considerations.
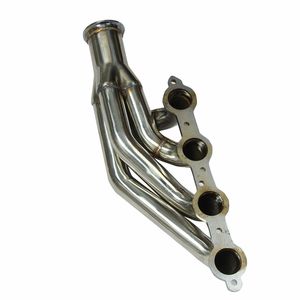
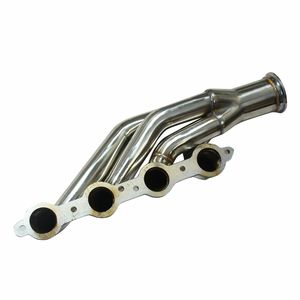
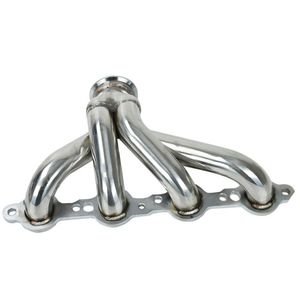
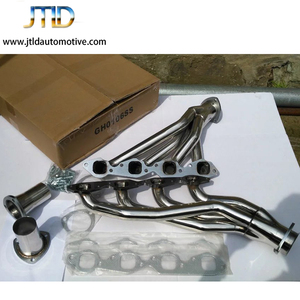
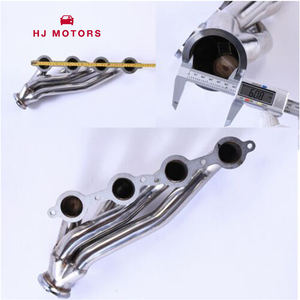
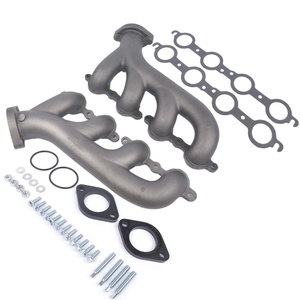
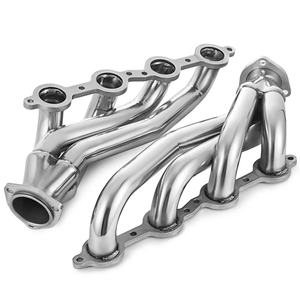
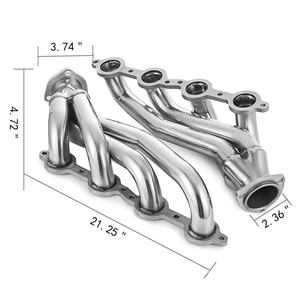
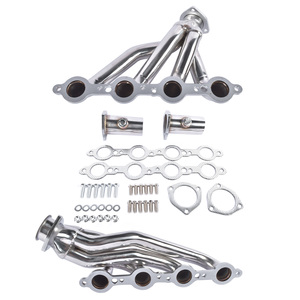
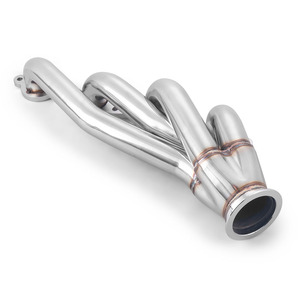
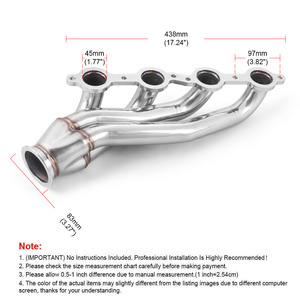
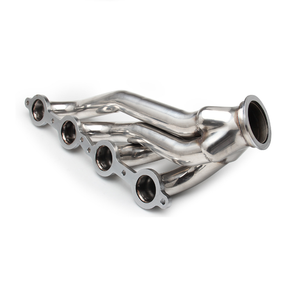
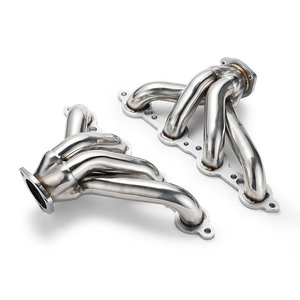
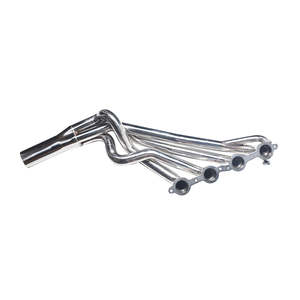
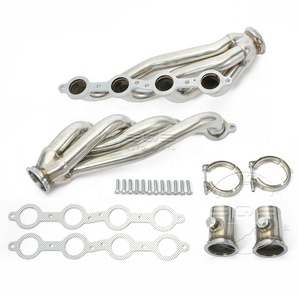
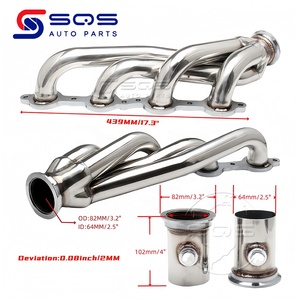
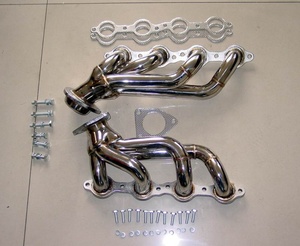
Shorty Headers
Shorty headers feature a compact design that makes them ideal for street cars and vehicles requiring factory-like exhaust systems. They're especially popular for Corvette applications where space is limited.
Best for: Daily drivers, limited space applications, emissions compliance
Power gains: 5-15 HP
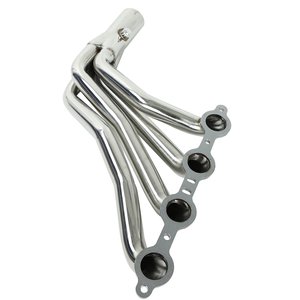
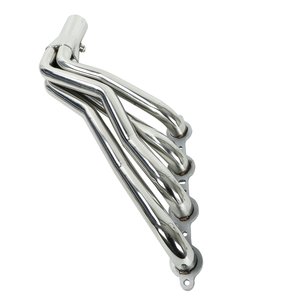
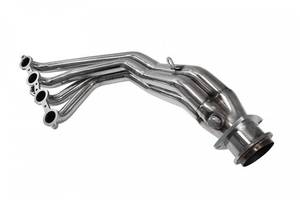
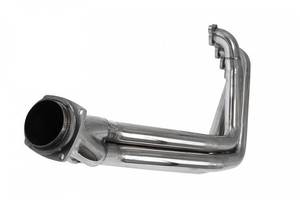
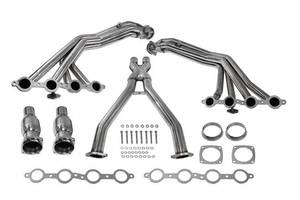
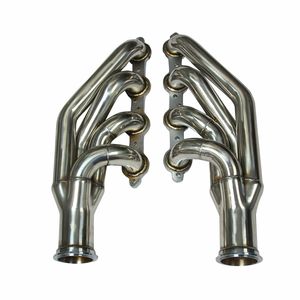
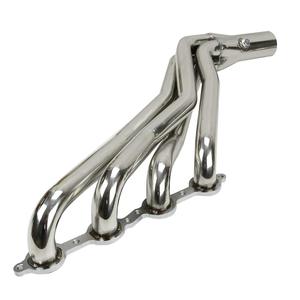
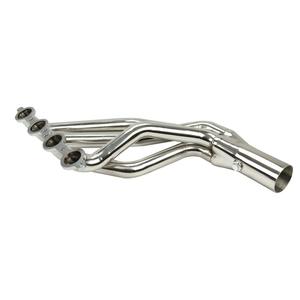
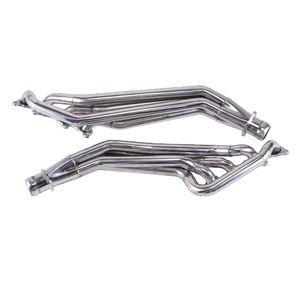
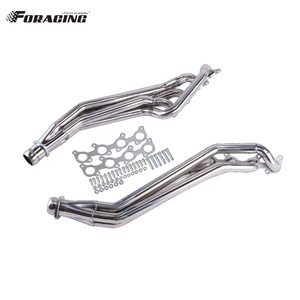
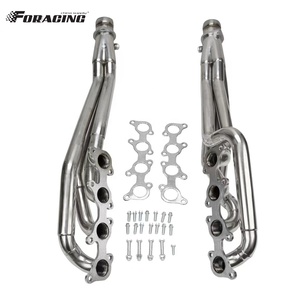
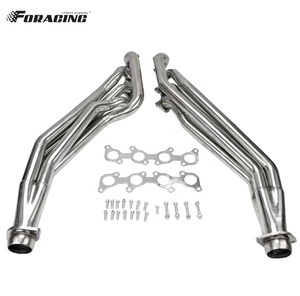
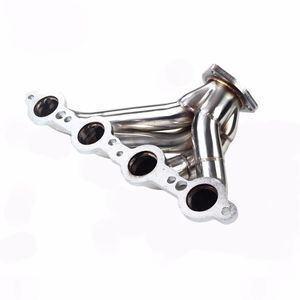
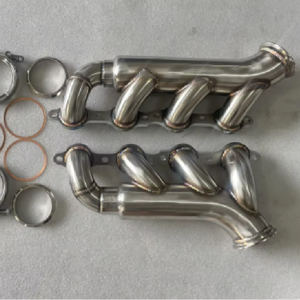
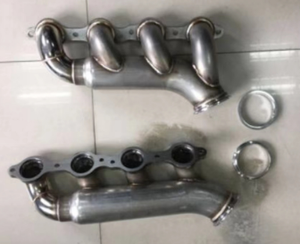
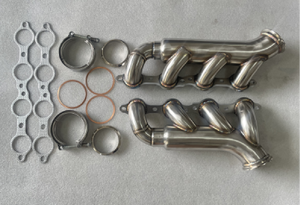
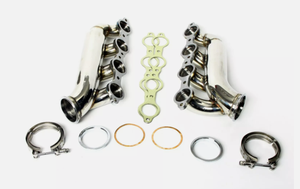
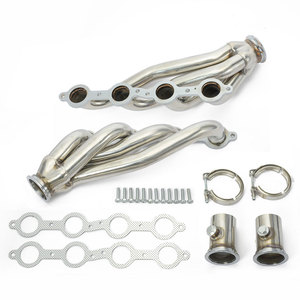
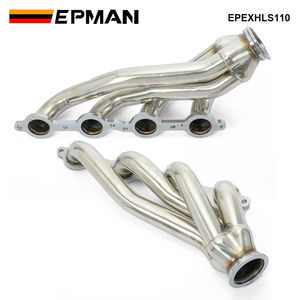
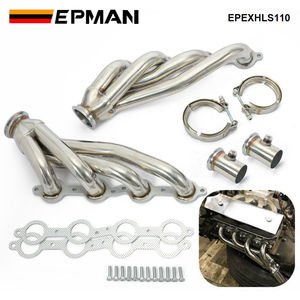
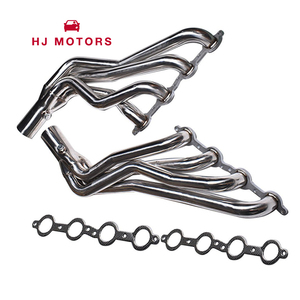
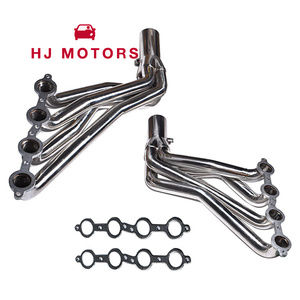
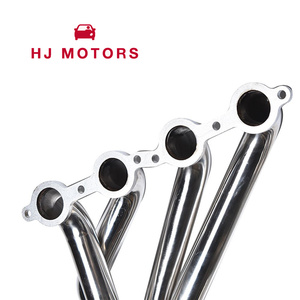
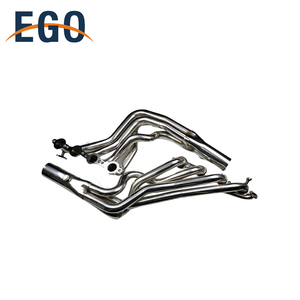
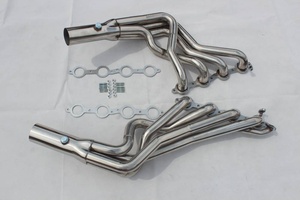
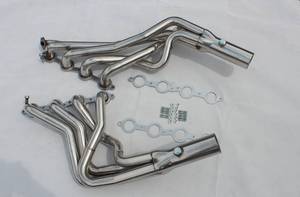
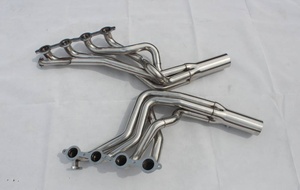
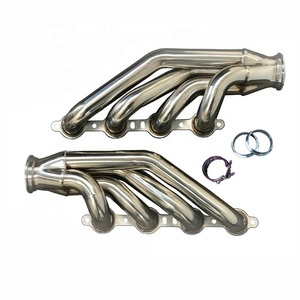
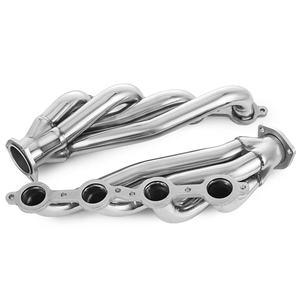
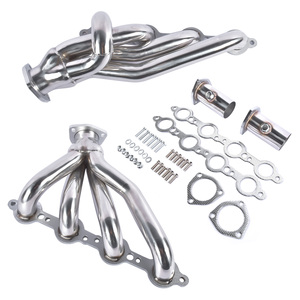
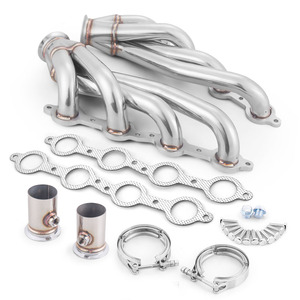
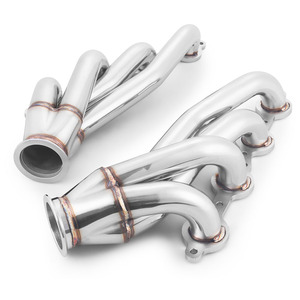
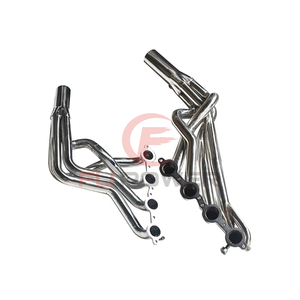
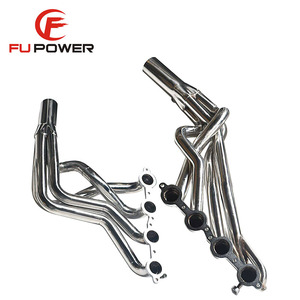
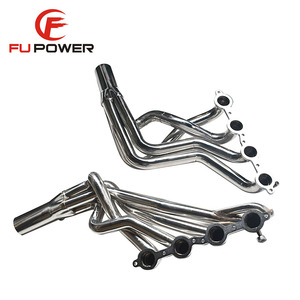
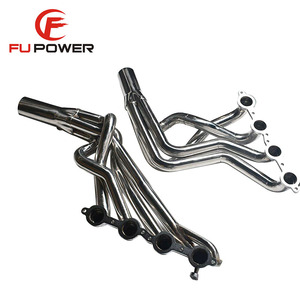
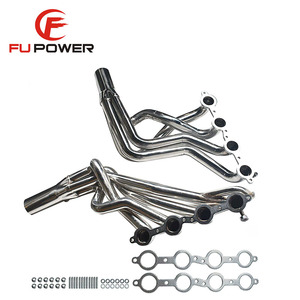
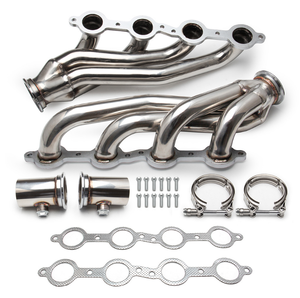
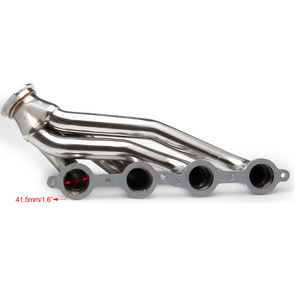
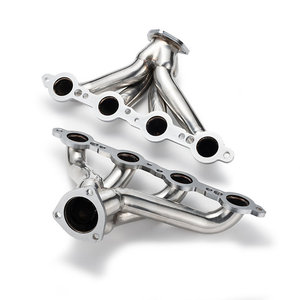
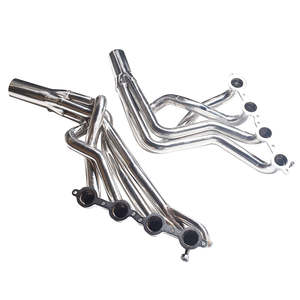
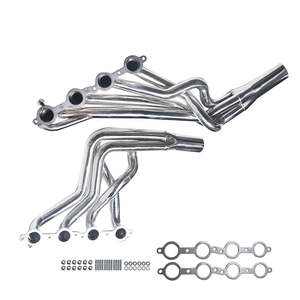
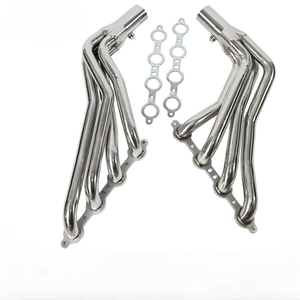
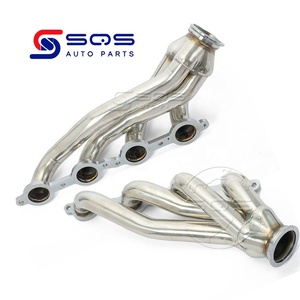
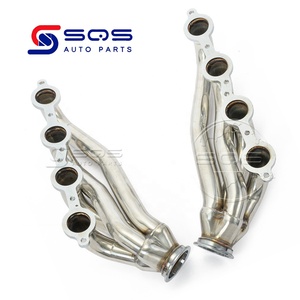
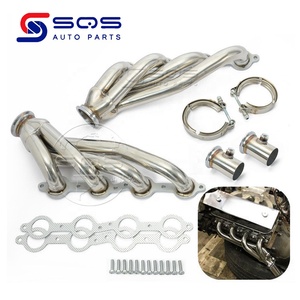
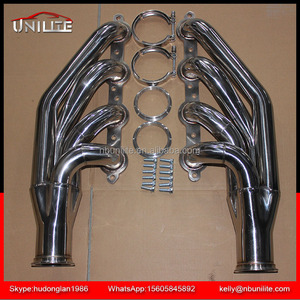
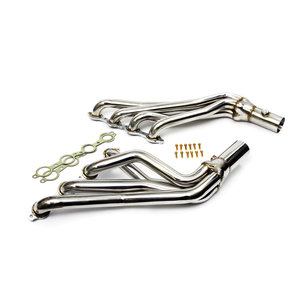
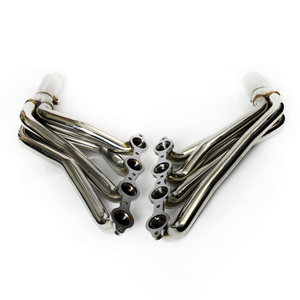
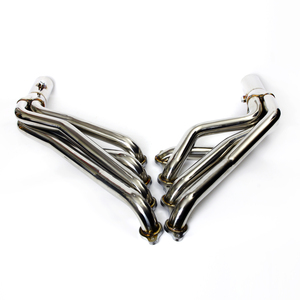
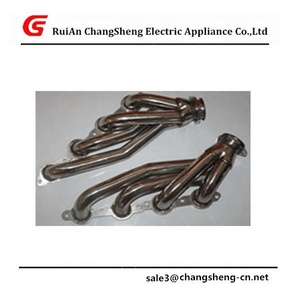
Long Tube Headers
Long tube headers feature extended primary tubes that maximize exhaust flow for significant performance improvements. These headers extend further into the exhaust system before merging into collectors.
Best for: Performance applications, race vehicles, maximum power gains
Power gains: 15-25+ HP
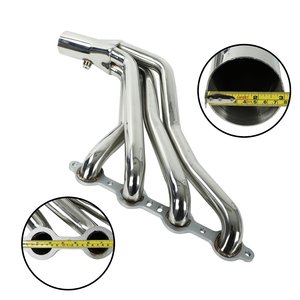
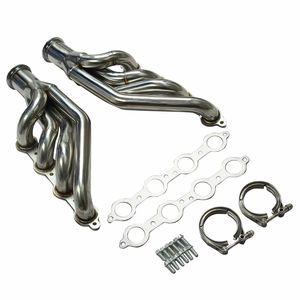
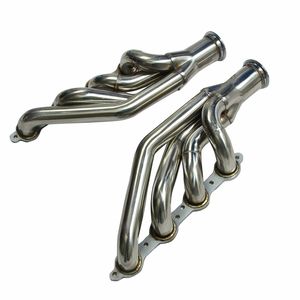
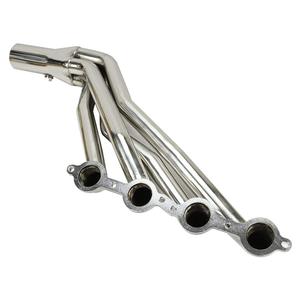
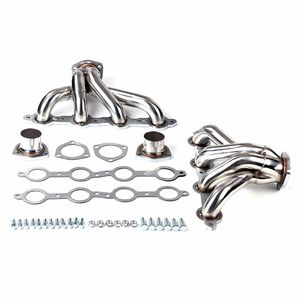
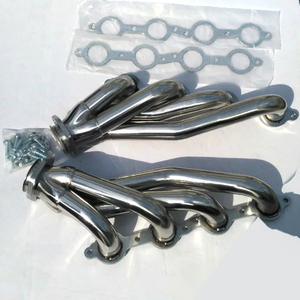
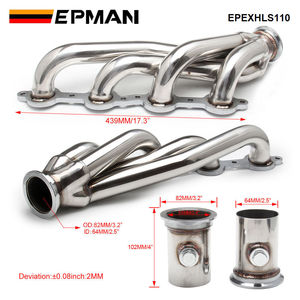
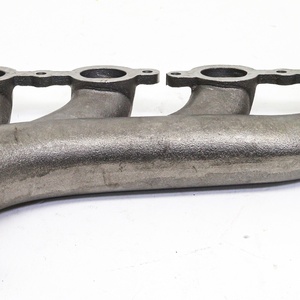
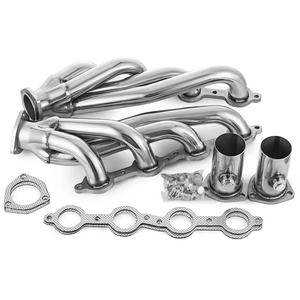
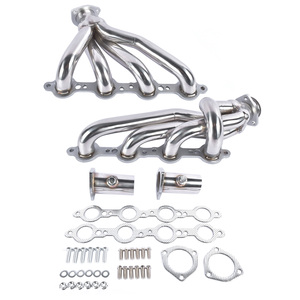
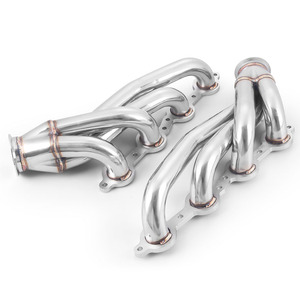
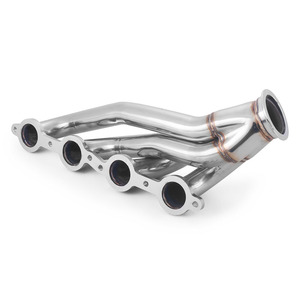
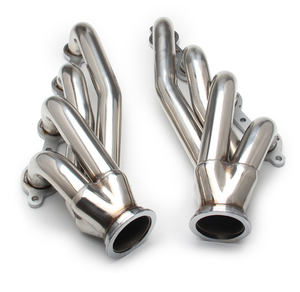
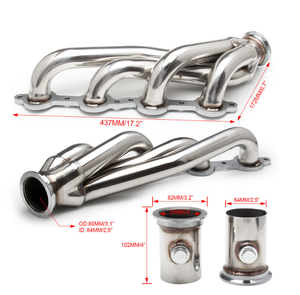
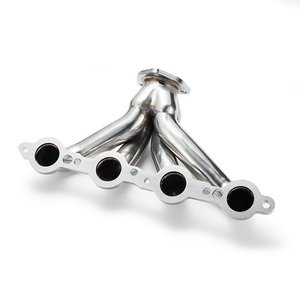
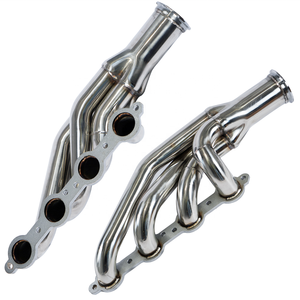
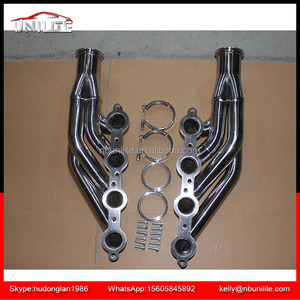
Mid-length Headers
Mid-length headers strike a balance between shorty and long tube designs. Their primary tubes are longer than shorties but shorter than long tubes, providing improved flow while avoiding clearance issues.
Best for: All-around performance, versatile applications
Power gains: 10-20 HP
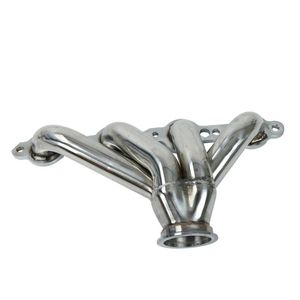
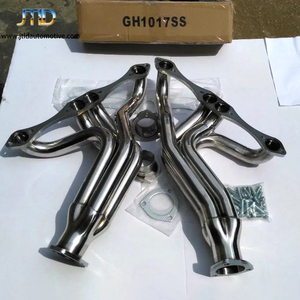
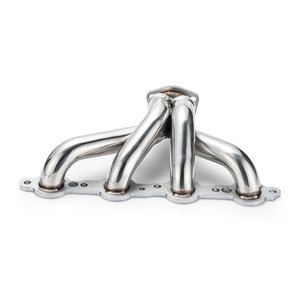
Tri-Y Headers
Tri-Y headers utilize a unique triangular layout where primary tubes merge into three larger pipes instead of two. This specialized design enhances torque delivery, particularly at lower RPMs.
Best for: Street performance, improved torque curve
Power focus: Mid-range torque
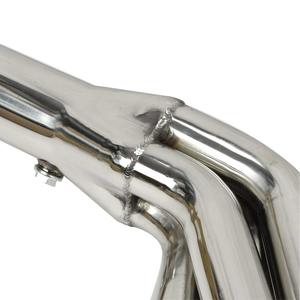
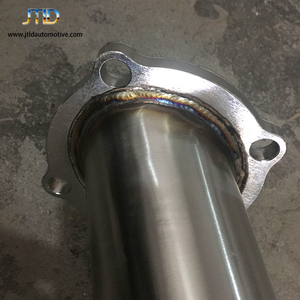
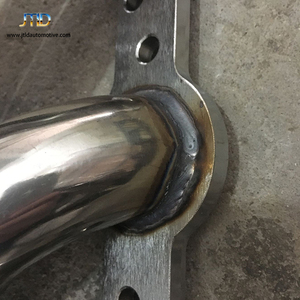
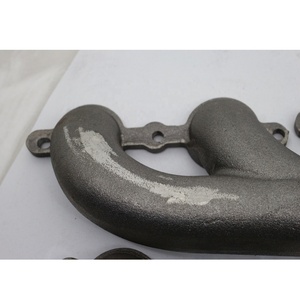
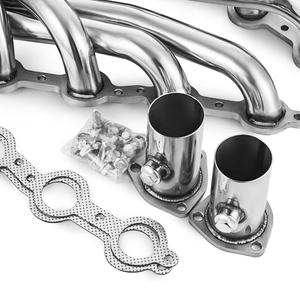
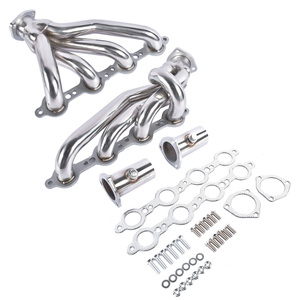
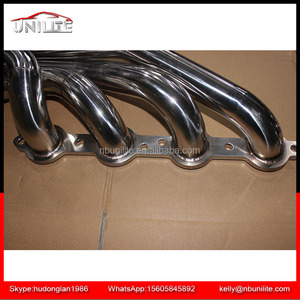
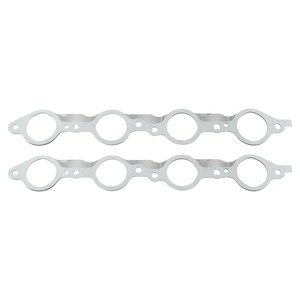
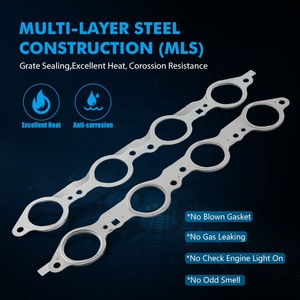
Stainless Steel Headers
Constructed from high-quality stainless steel, these headers offer superior corrosion resistance and durability under extreme heat conditions. They maintain structural integrity even in harsh environments.
Best for: Long-term durability, extreme conditions
Lifespan: 10+ years with proper care
Mild Steel Headers
Made from carbon steel, these headers offer a cost-effective alternative to stainless steel options. While less resistant to corrosion, they provide good performance at a lower price point.
Best for: Budget-conscious buyers
Lifespan: 3-5 years (longer with coating)
Performance Comparison by Header Type
Long Tube Headers (Power)
Mid-length Headers (Power)
Shorty Headers (Power)
Tri-Y Headers (Low-End Torque)
Expert Tip: For the best all-around performance in a daily driver, consider mid-length headers in stainless steel. They offer a good balance of power gains and durability without the installation challenges of long tube headers.
Specifications and Maintenance of LS1 Headers
Understanding the key specifications and maintenance requirements of LS1 headers is essential for optimal performance and longevity of your exhaust system.
| Specification | Details | Impact on Performance |
|---|---|---|
| Material | Stainless steel, mild steel, chrome steel | Affects durability, heat resistance, and weight |
| Coating | Ceramic, chrome, paint, stainless steel | Improves heat resistance, corrosion protection, and appearance |
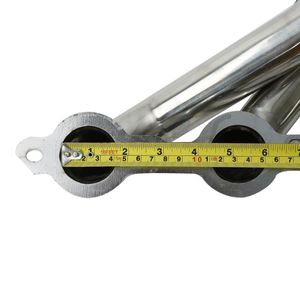
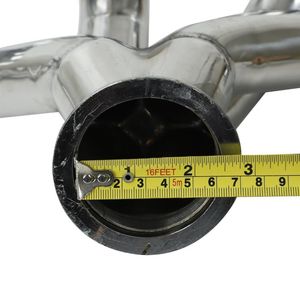
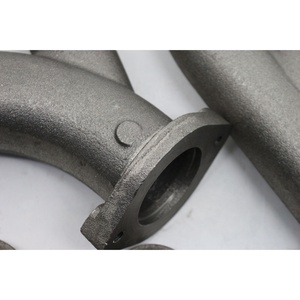
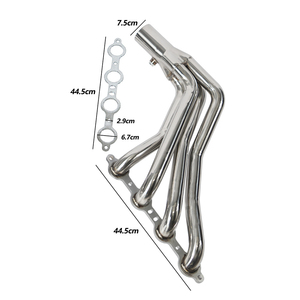
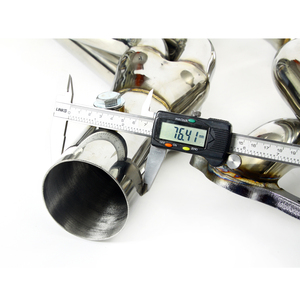
| Primary Tube Diameter | 1.5" to 2" (common range) | Larger diameter improves high-end power; smaller diameter enhances low-end torque |
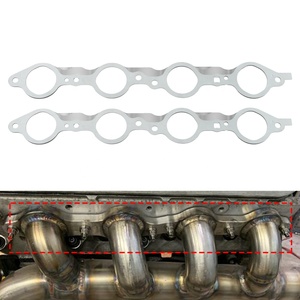
| Number of Cylinders | 8 (for LS1 V8 engine) | Each cylinder requires its own exhaust port and tube |
| Flange Thickness | 0.25" to 0.5" | Thicker flanges provide better sealing but add weight |
Header Material Comparison
Stainless Steel
Pros: Excellent corrosion resistance, high durability, withstands extreme temperatures, maintains appearance
Cons: Higher cost, slightly heavier than mild steel
Lifespan: 10+ years with minimal maintenance
Mild Steel
Pros: Cost-effective, lightweight, good performance
Cons: Susceptible to corrosion, requires coating for longevity
Lifespan: 3-5 years without coating; 5-8 years with coating
Chrome Steel
Pros: Attractive appearance, moderate corrosion resistance, mid-range price
Cons: Chrome can crack under extreme heat cycles
Lifespan: 5-7 years with proper maintenance
Essential Maintenance Practices
- Regular Cleaning: Remove dirt, road salt, and debris using mild detergent and water or specialized header cleaner
- Inspection Schedule: Check for cracks, leaks, and corrosion every 6 months or 5,000 miles
- Hardware Check: Verify that all bolts and clamps remain properly torqued during routine maintenance
- Heat Cycle Management: Allow proper cool-down periods to prevent thermal stress and premature cracking
- Protective Coatings: Reapply header paint or coating as needed to maintain corrosion protection
Important: Never use harsh chemicals or abrasive cleaning tools on header coatings, as they can damage the protective surface and accelerate corrosion.
How to Choose LS1 Headers
Selecting the right LS1 headers requires careful consideration of your vehicle, performance goals, and budget. This comprehensive guide will help you make an informed decision.
Performance Goals
Consider what you want to achieve with your LS1 headers:
- Maximum Power: Long tube headers
- Daily Driver Balance: Mid-length headers
- Low-End Torque: Tri-Y design headers
- Emissions Compliance: Shorty headers with catalytic converters
Vehicle Application
Different vehicles have different requirements:
- Corvette: Often limited space requires shorty headers or specialized fitment
- Camaro/Firebird: Can accommodate most header types
- Trucks/SUVs: Consider ground clearance with long tube designs
- Swapped Applications: Require careful measurement and possibly custom solutions
Key Selection Criteria
| Selection Factor | Importance | Considerations |
|---|---|---|
| Material Quality | High | Invest in quality materials for longevity; stainless steel offers best durability for long-term use |
| Primary Tube Diameter | Critical | Match to engine modifications and RPM range; larger tubes favor high-RPM power |
| Installation Complexity | Medium | Consider your mechanical ability or budget for professional installation |
| Emissions Compliance | High (for street use) | Verify legal status for your location; look for CARB EO numbers for California compliance |
| Price vs. Quality | Medium | Balance budget constraints with performance and durability expectations |
Expert Advice: Rather than focusing solely on price, consider the total cost of ownership. Premium headers might cost more upfront but offer better longevity, performance, and resale value compared to budget options that may need frequent replacement.
Coating Considerations
Ceramic Coating
Benefits: Superior heat retention, corrosion resistance, extends header life
Cost Impact: +$150-300 over base header price
Recommended for: Performance applications, engine bay heat management
Chrome Coating
Benefits: Attractive appearance, moderate heat resistance, good corrosion protection
Cost Impact: +$100-200 over base header price
Recommended for: Show cars, aesthetic-focused builds
High-Temperature Paint
Benefits: Affordable protection, available in various colors, DIY-friendly
Cost Impact: +$20-50 over base header price
Recommended for: Budget builds, frequently changed components
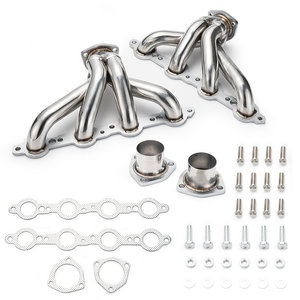
How to DIY and Replace LS1 Headers
Replacing your LS1 headers can be a rewarding DIY project that improves performance and saves on labor costs. Follow this comprehensive guide for a successful installation.
Safety Warning: This procedure should only be attempted by those with mechanical experience. Ensure the engine is completely cool before beginning work to prevent burns. Always use proper safety equipment including gloves and eye protection.
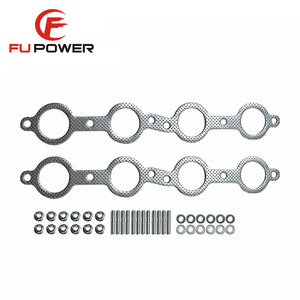
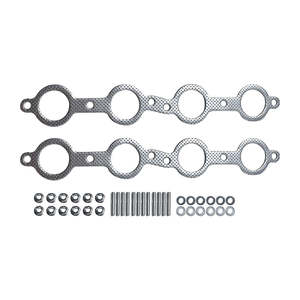
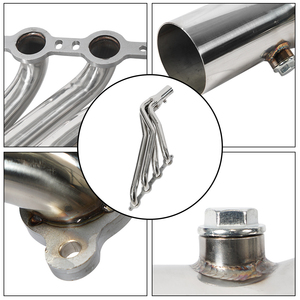
Required Tools and Materials
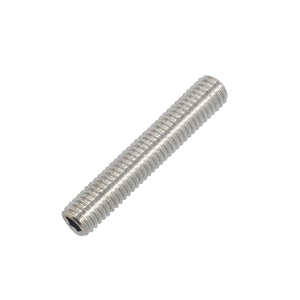
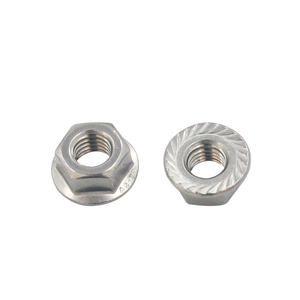
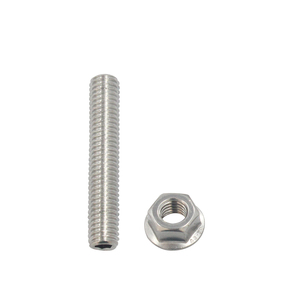
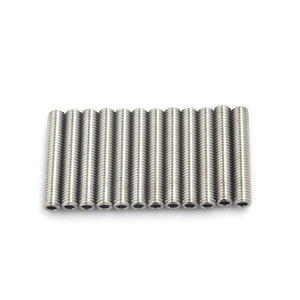
- New LS1 headers
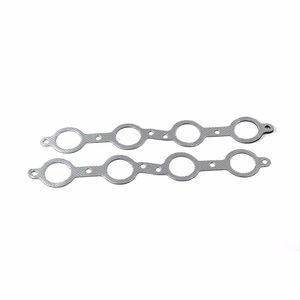
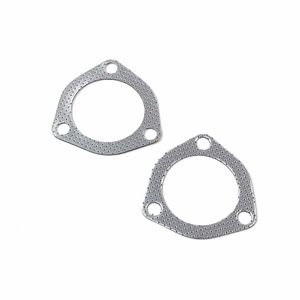
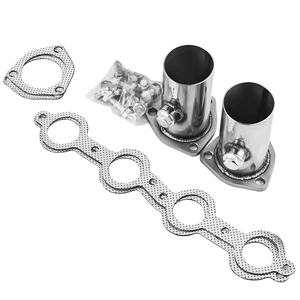
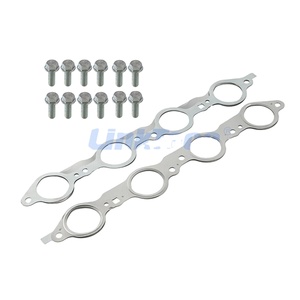
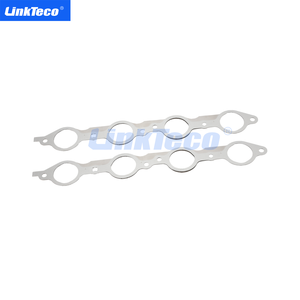
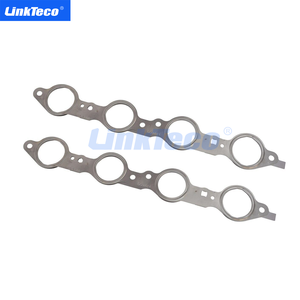
- Header gaskets (if not included with headers)
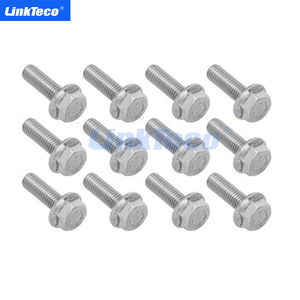
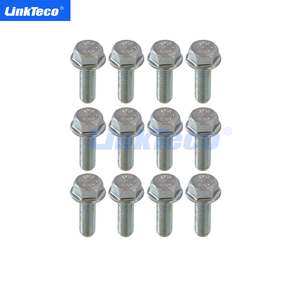
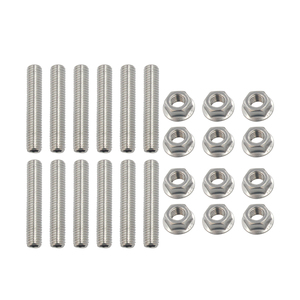
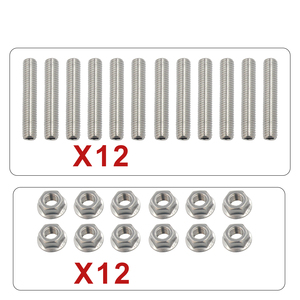
- Header bolts (often included with new headers)
- Torque wrench
- Ratchet and socket set (including extensions)
- Wrench set
- Screwdriver set (Phillips and flathead)
- Penetrating oil (for stubborn bolts)
- Anti-seize compound
- High-temperature RTV silicone (optional)
- Jack and jack stands
- Safety glasses and mechanic gloves
Step-by-Step Installation Process
1 Prepare the Vehicle
Ensure the engine is completely cool before beginning work. Park on a flat, level surface and engage the parking brake. Disconnect the negative terminal of the battery to prevent electrical issues. Raise the vehicle using a jack and secure it on jack stands for safe access to the underside.
2 Access the Exhaust System
Open the hood to access the engine bay. Depending on your specific vehicle, you may need to remove certain components for better access, such as:
- Air intake system
- Spark plug wires (label them before removal)
- Dipstick tube
- Starter (in some applications)
- Steering shaft (in some applications)
3 Remove the Old Headers
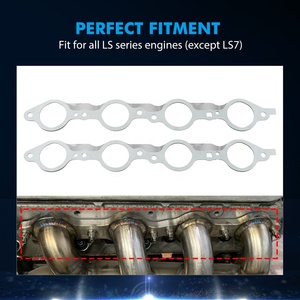
Disconnect the exhaust pipes from the headers by unbolting any clamps or connections. Spray penetrating oil on stuck bolts and allow it to soak. Remove the header bolts from each exhaust port flange. In most LS1 applications, there are 3 bolts per port. Carefully remove the old headers from the vehicle, noting any specific routing or clearance issues.
4 Prepare the Mounting Surfaces
Clean the exhaust port surfaces on the cylinder heads, removing any old gasket material. A plastic scraper works well to avoid damaging the mounting surface. Inspect the exhaust ports for any damage or irregularities that might affect sealing.
5 Install the New Headers
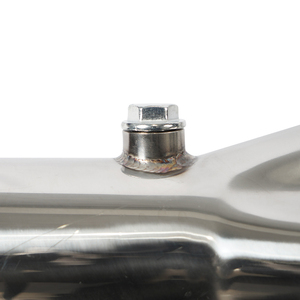
Apply a small amount of anti-seize compound to the threads of the new header bolts. Position the new gaskets on the cylinder head exhaust ports. Carefully maneuver the new headers into position, starting with the driver's side in most applications. Hand-tighten all bolts first to ensure proper alignment, then gradually tighten in a cross-pattern sequence using a torque wrench to manufacturer specifications (typically 15-18 ft-lbs).
6 Reconnect the Exhaust System
Connect the headers to the rest of the exhaust system. This may require adapter pipes depending on your header design. Ensure all connections are secure and properly aligned. Reinstall any components that were removed for access, such as the spark plug wires, dipstick tube, and air intake system.
7 Final Checks and Test
Double-check all connections and ensure nothing is loose or missing. Reconnect the battery negative terminal. Start the engine and listen for any exhaust leaks (ticking or hissing sounds). Check for proper clearance around the headers with the engine running, as vibration can cause contact with nearby components. After the initial test, allow the engine to cool, then retorque the header bolts as they may loosen after the first heat cycle.
Professional Tip: If you're installing long tube headers, consider having a helper assist with the installation process. The extra length makes them more challenging to maneuver into position, especially in tight engine bays.
Frequently Asked Questions
What are LS1 headers and why are they important?
LS1 headers are performance exhaust components designed to replace the restrictive factory exhaust manifolds on GM's LS1 V8 engine. They feature individual tubes for each cylinder that merge into collectors, improving exhaust flow and scavenging effects. This enhanced exhaust flow translates to increased horsepower, torque, and improved engine efficiency. Headers are among the most cost-effective performance upgrades for LS1-powered vehicles.
Why should I install LS1 headers?
Installing LS1 headers offers several benefits:
- Performance Gains: 5-25+ horsepower and comparable torque improvements depending on header design
- Improved Exhaust Flow: Reduces backpressure and enhances engine breathing
- Enhanced Exhaust Note: Creates a more aggressive and sporty sound
- Better Throttle Response: More immediate power delivery when accelerating
- Potential Fuel Efficiency: May slightly improve fuel economy under certain driving conditions
Headers are typically manufactured from durable materials like stainless steel or mild steel with protective coatings, ensuring they can withstand the harsh underhood environment.
Can any vehicle use LS1 headers, or are they specific to certain models?
LS1 headers are specifically designed for vehicles equipped with the GM LS1 V8 engine. While the LS1 engine was fitted to various models from 1997-2004 (including Corvette, Camaro, Firebird, and certain trucks/SUVs), header designs are often model-specific due to differences in chassis design, steering components, and available space.
Different configurations and designs accommodate various vehicle platforms, but you should always verify fitment for your specific year, make, and model. Some headers are marketed as universal LS1 headers but typically require modifications for proper installation.
Do LS1 headers require modifications to the exhaust system?
The extent of modifications required depends on the header type:
- Shorty Headers: Often connect directly to the factory exhaust system with minimal modifications
- Mid-Length Headers: May require adapter pipes or minor modifications
- Long Tube Headers: Typically require extension pipes or a complete mid-pipe replacement to connect to the existing exhaust
Some installations may require cutting, welding, or additional components to achieve proper fitment and clearance. Many header manufacturers offer compatible connection pipes to simplify installation. It's advisable to plan for these additional components when budgeting for your header upgrade.
Do LS1 headers affect emissions performance?
LS1 headers can potentially affect emissions performance, particularly in states with strict emissions regulations. Key considerations include:
- Catalytic Converters: Some headers remove or relocate the catalytic converters, which can affect emissions compliance
- O2 Sensors: Header installation may require relocating oxygen sensors, which can influence the engine's air-fuel mixture
- Emissions Certification: For street-legal use in states like California, headers should have a CARB (California Air Resources Board) Executive Order (EO) number indicating compliance
For daily drivers, especially in areas with emissions testing, consider headers specifically designed to be emissions-compliant. Shorty headers often maintain emissions equipment in the factory location, making them a popular choice for emissions-conscious upgrades.


 浙公网安备 33010002000092号
 浙B2-20120091-4