Types of Test IAC
There are several types of Test IAC, including:
-
Test IAC 1
Test IAC 1 is for IAC models with 2 circuits. In this test, the IAC is controlled by the test equipment. The IAC receives open and close commands from the test equipment. It monitors the response of the IAC to these commands. If the IAC does not respond correctly, it indicates a fault.
-
Test IAC 2
Test IAC 2 is for IAC models with 1 circuit. In this test, the IAC is controlled by the test equipment. The IAC receives commands to move to a specified position. The test equipment monitors the actual position of the IAC. If the actual position does not match the commanded position, it indicates a fault.
-
Test IAC 3
In Test IAC 3, the IAC is allowed to move freely. The test equipment communicates with the IAC to determine its status. If the IAC is not responding or in a faulty state, it will be reported to the relevant systems.
-
Test IAC 4
In Test IAC 4, all IACs are tested simultaneously. The test equipment coordinates the actions and communication with all IACs. This test verifies the synchronous operation and communication of multiple IACs.
-
Test IAC 5
Test IAC 5 is an advanced test that combines elements of the previous tests. It can be customized based on the specific requirements and configurations of the IACs being tested.
Specification & Maintenance of IAC Test
The specifications of the IAC valve and the IAC test can differ depending on the car model and the engine control system used. However, here are some general specifications and guidelines:
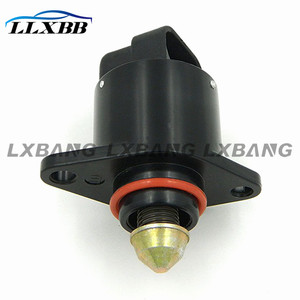
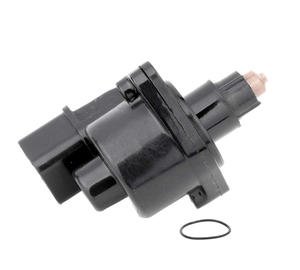
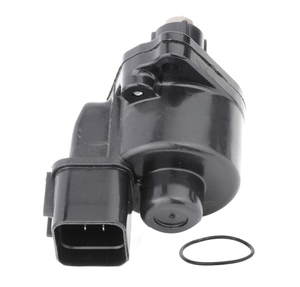
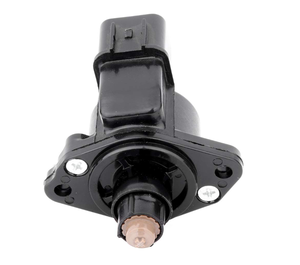
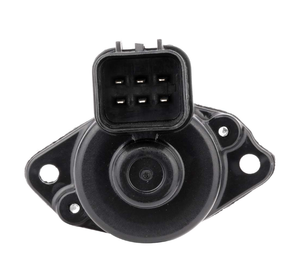
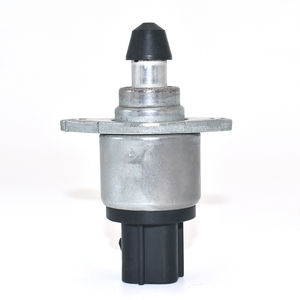
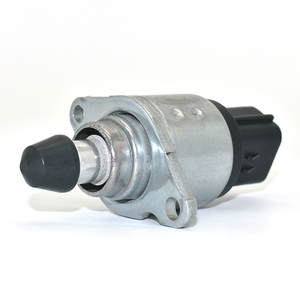
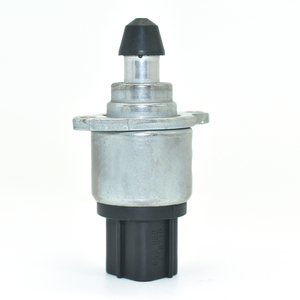
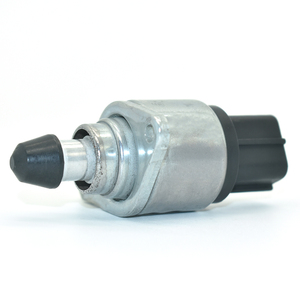
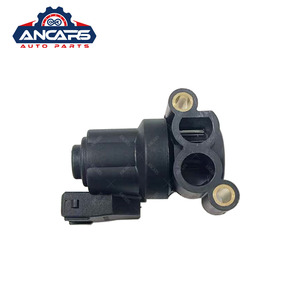
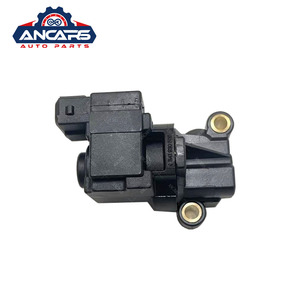
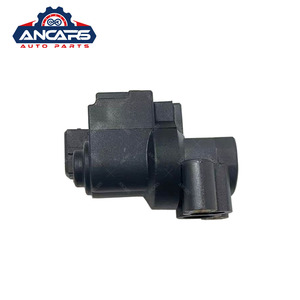
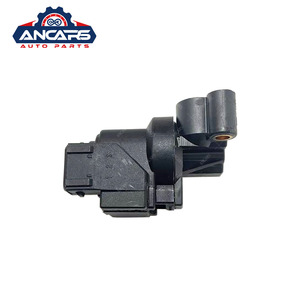
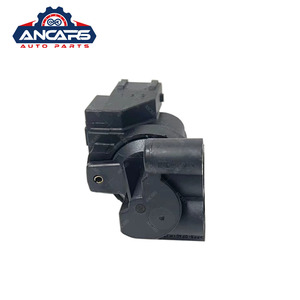
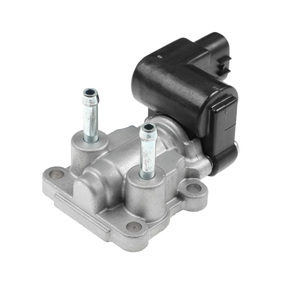
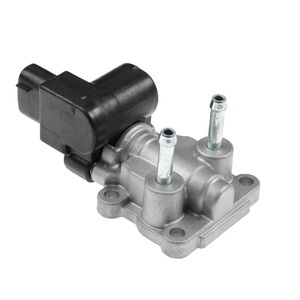
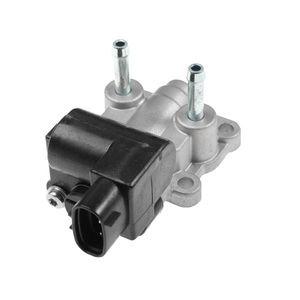
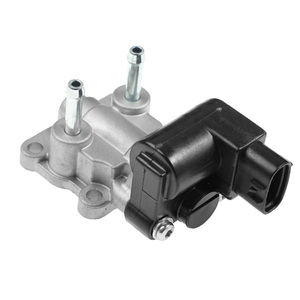
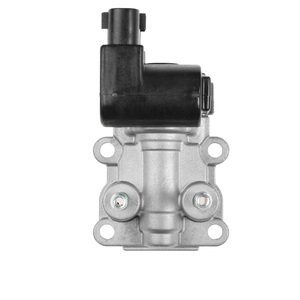
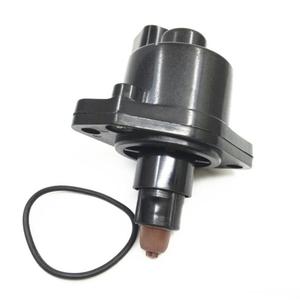
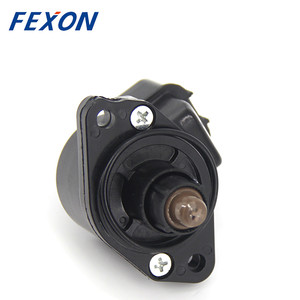
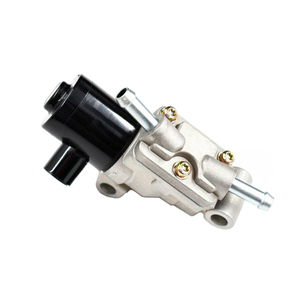
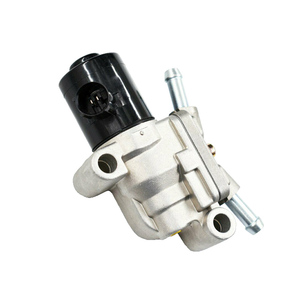
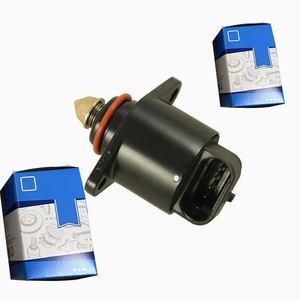
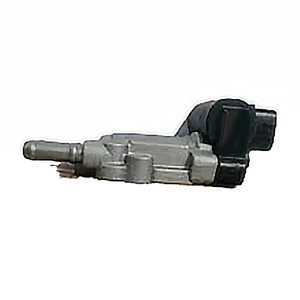
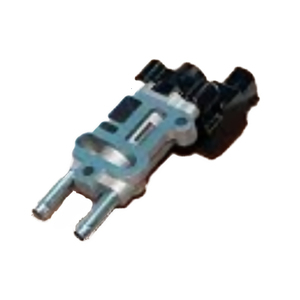
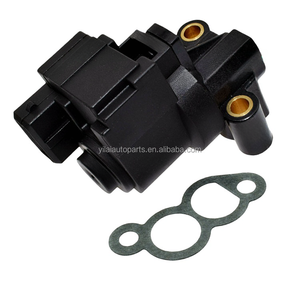
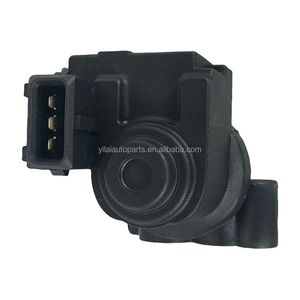
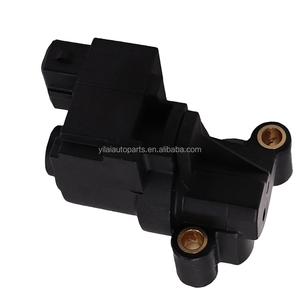
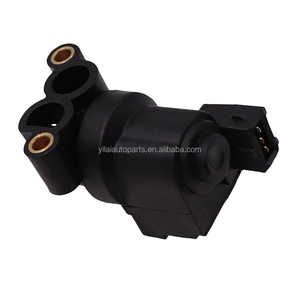
- IAC Valve Specifications: The IAC valve is a crucial part of the engine's air intake system. It controls the amount of air flowing into the engine during idle, allowing precise control of engine idle speed. The IAC valve is controlled by the engine control module (ECM) or the powertrain control module (PCM) based on various inputs, such as the throttle position, intake air temperature, engine coolant temperature, and other factors. IAC valve specifications may include the valve type (IAC-A, IAC-B, or IAC-C), coil resistance, operating voltage, and response time. It may also include the idle air flow rate at a specific voltage or temperature, such as 5-15 mL/s at 12V and 25°C. The idle air flow rate is the amount of air allowed through the valve during idle, measured in milliliters per second (mL/s). This ensures the engine runs smoothly without stalling or sputtering.
- IAC Test Specifications: The IAC test is used to determine whether the valve is working properly and controlling idle air accurately. During the test, the valve is commanded to various positions, and the ECM monitors the engine's idle speed and air flow changes. If the idle speed and air flow do not change as expected, it may indicate a faulty IAC valve or other issues affecting idle control. The specific test procedure and parameters may vary depending on the scan tool or diagnostic equipment used. However, some common steps include checking the valve operation, measuring the idle air flow, and performing an active test.
Performing a proper IAC test requires some tools and equipment, such as a multimeter, an oscilloscope, a scan tool, and an IAC test adapter (if needed). A scan tool can read and clear diagnostic trouble codes (DTCs), monitor live data, and perform active tests on the IAC valve. An IAC test adapter may be required to connect the IAC valve to the test equipment, depending on the valve type and connector.
Maintenance of IAC test Iac valve control is vital for optimal engine idle performance. This involves cleaning the IAC valve and the throttle body, checking the electrical connections and wiring for damage or corrosion, and ensuring the valve operates smoothly without sticking or leaking. Following the manufacturer's recommended maintenance schedule and using quality parts and fluids are essential for maintaining the IAC valve and related components.
In general, specifications and maintenance requirements for IAC test valves can be found in the owner's manual or the service manual for the specific car model. Contacting a professional mechanic or authorized service center is advisable for any IAC-related issues or concerns.
How to Choose Test Iac
Choosing the right IAC valve test equipment and techniques for a given situation involves considering several factors:
- Understanding the Symptoms: What are the exact symptoms that have been noticed? Is it a high idle, low idle, fluctuating idle, or stalling? Different symptoms might point to different potential issues with the IAC valve or other components of the air intake system.
- Researching the Make and Model: Different vehicles have different types of IAC valves and different testing procedures. Look up the service manual for the vehicle in question. This will provide information on the type of IAC valve it has and the recommended testing procedure.
- Accessing the IAC Valve: The IAC valve is typically located on or near the throttle body. The service manual will indicate its location. Ensure that the valve is accessible for testing.
- Gathering Necessary Tools: Basic tools like screwdrivers, sockets, and a multimeter (for some models) may be necessary. Depending on the testing procedure, other specialized tools might be required. Ensure that these are available before starting the test.
- Safety Considerations: Always consider safety first. Ensure the vehicle is in a safe condition for testing (e.g., parked, not able to move, with the parking brake engaged). Be cautious when working with the electrical system, moving parts, and potentially hot engine components.
- Environmental Considerations: Some tests might require the vehicle to be running for extended periods. Ensure that the testing is done in an adequately ventilated area, and consider the environmental regulations regarding vehicle emissions.
- Test conditions: Consider the conditions under which the test will be conducted. Temperature, humidity, and altitude can affect engine performance and, consequently, the IAC valve's functioning.
- Consulting Professionals: If unsure about any aspect of the test or the interpretation of the symptoms, it might be best to consult with a professional mechanic. They have the experience and tools to diagnose and repair IAC valve issues accurately.
How to DIY and Replace Test IAC
Below are the simple steps on how to DIY and replace the test IAC:
-
Prepare
Before starting the process, make sure the engine is cool. Gather all the necessary tools that will be required for the process. These include a test IAC valve, socket wrench set, pliers, and screwdrivers. Also, read the instructions manual provided by the manufacturer to know what to expect.
-
Locate
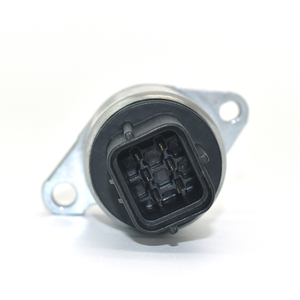
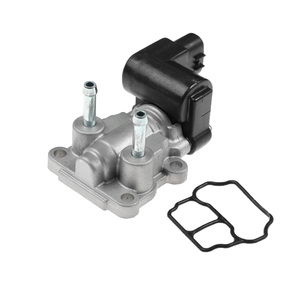
Locate the air control valve. It is usually found between the throttle body and the intake manifold. Once located, disconnect the valve from the electrical connector.
-
Remove
Use a socket wrench to remove the bolts and screws that hold the IAC valve in place. After this, carefully lift the valve off the mounting surface.
-
Prepare
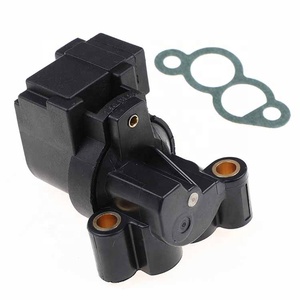
Take the new IAC valve and compare it with the old one to ensure they are the same. Clean the mounting surface and remove any debris and gasket residues. After this, install the new air control valve.
-
Connect
Once the valve is installed, reconnect the electrical connector. Make sure the connection is tight and secure.
-
Start
Start the engine and let it run for a few minutes. This allows the valve to adjust and settle. Once the valve is settled, test it to make sure it is working properly.
-
Final
Once the iac valve test is successful, ensure that all tools are removed from the engine bay. Close the hood and prepare the vehicle.
Q&A
Q1: How often should someone use the IAC test?
A1: There is no set number of times someone should use the IAC test. If the car has symptoms of an issue with the IAC valve, like uneven idle speed, the test can help check if the valve is working properly. The test is not something that needs to be done frequently if there are no signs of problems.
Q2: Does the IAC test require special equipment?
A2: No, the IAC test does not require special equipment. Anyone can perform the test using basic tools. Following the steps in the guide is all that is needed. More advanced tests of the IAC valve require diagnostic scanning tools.
Q3: Can a faulty IAC valve be repaired instead of replaced?
A3: In most cases, replacing the IAC valve is recommended if it is damaged. Other parts of the engine control system may be incompatible with IAC valve issues. Repairs would be too complicated. The IAC test results can help determine if replacement is necessary.
Q4: How long does it take to do the IAC test?
A4: The IAC test is quick to check the valve's operation. Allow 30-60 minutes to read the guide, do the steps, and analyze results. More time may be needed if disassembly of components takes longer. Compare findings with expected results to assess the IAC valve's condition.
Q5: Is the IAC test valid for all vehicles?
A5: While the IAC test is valid for many cars, especially those with traditional internal combustion engines, it may not be relevant for all. For instance, modern vehicles with variable throttle control or electric vehicles might not use an idle air control valve in the same way. Always refer to the vehicle's service manual to determine the valid tests and diagnostics for the specific model and year.


 浙公网安备 33010002000092号
 浙B2-20120091-4